Want to grow your email list in 2021?
Are you looking for a lead magnet that gives value to your customers in a fun way?
Then discover how to create a quiz that grows your email list. In this post I’ll reveal 7 easy steps to build an interactive quiz for your website!
Grab a cup of coffee and let’s get started!
DISCLAIMER: This post includes affiliate links for Interact Quizzes . If you decide to purchase I’ll receive a small commission. The price you pay won’t change.
Why people love quizzes?
People love quizzes because they make them learn new things about themselves. 😍
Think about it, back in the old days when we came across a quiz on a magazine, we immediately jumped in to take it.
Even nowadays you’ve probably seen on Facebook how your friends love to take quizzes. I love them too!
That’s why when Interact invited me to discover their easy-to-use platform to build quizzes, I didn’t think it twice.
With their innovative tool you can easily create beautiful quizzes and link them to your website, blog or social media page.
Discover how to create a quiz that grows your email list in 7 steps.

How to Create a Fun Quiz that Grows Your Email List
STEP 1: Choose a useful topic for your quiz
1. Think of a relevant topic in your niche.
During meetings with my clients, a question they frequently ask me is whether or not start a blog for their business.
Given that this is a topic I can help them with, I decided to create a quiz called “Is Blogging Right for You?”. It will help my clients to find out if they should start a blog.
2. Map your questions and results
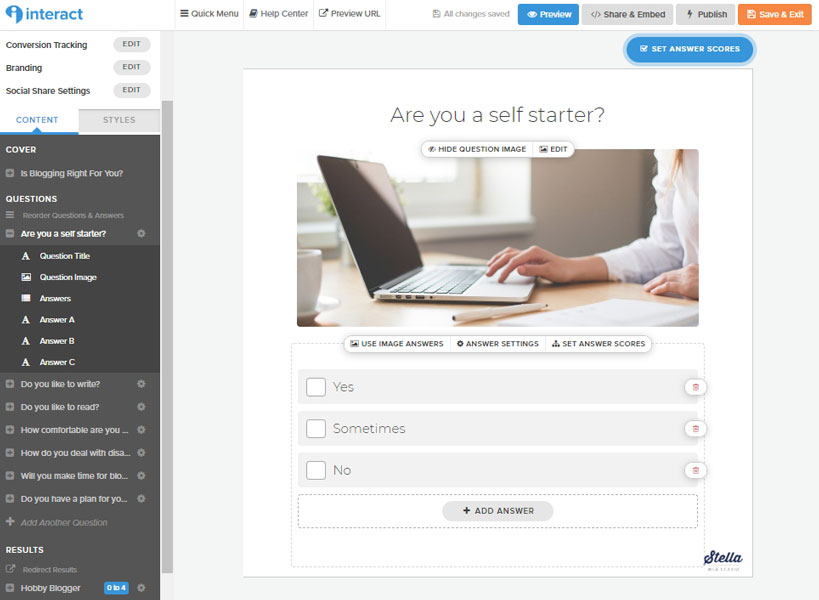
To help my respondents know if they have what it takes to become bloggers, I decided to ask preliminary questions to help them find out what type of blogger they’d be.
For this purpose, I chose one of the many Interact templates which served me as a base to ask relevant questions, such as:
“Are you a self starter?, Do you like to read?, Do you like to write?, How comfortable are you with technology?, etc”.
As for the results of my quiz, this template also allowed me to segment my audience into three different types of bloggers: Hobby, Casual and Serious. This is very useful, because the tool automatically identifies the future blogger (the “Serious” type), the leads I should focus my efforts on.
3. Determine of the goal of your quiz
My “Is Blogging Right for You?” quiz would serve a double purpose. On one hand, it would help my readers find a solution to a problem (in this case, find out if they should start a blog).
And on the other, it would help me segment my audience based on the results they get, grow my email list and generate leads!
STEP 2: Create your interactive quiz
Let’s get now to the thick of it! As mentioned before, I used the Interact platform to create my quiz.
How To Make A Fun Quiz For Your Website
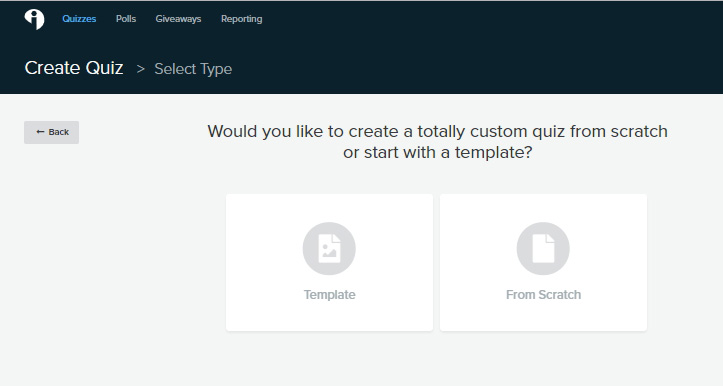
- Choose a template, or build your quiz from scratch.
As I’m approaching this task as an absolute beginner, I decided to use a template to get some inspiration from what’s already been created and save myself tons of time.
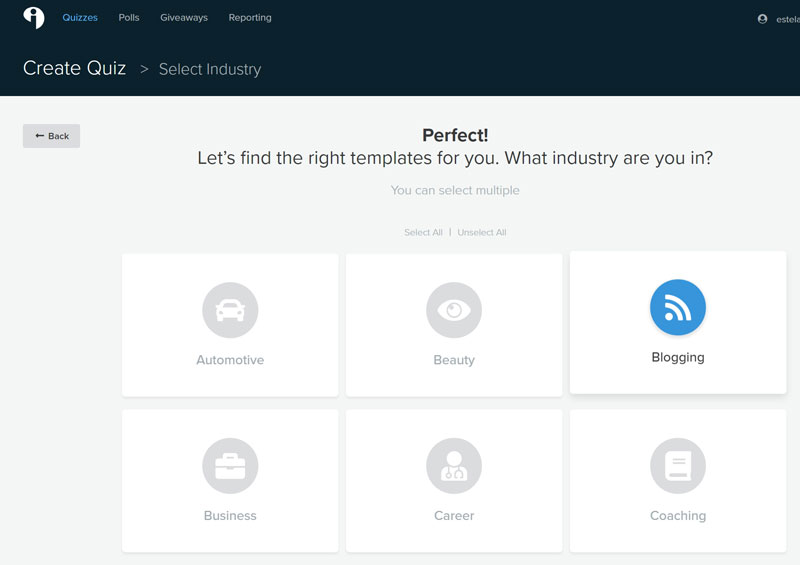
- Select the industry relevant to your business (Blogging in my case).
In my case I selected Blogging. In addition, you can select multiple industries.
- Choose a type of quiz.
I chose to build a Personality Quiz. Alternatively, you can create other types of quizzes such as Assessment and Scored. To learn more visit: How to Create an Interactive Quiz.

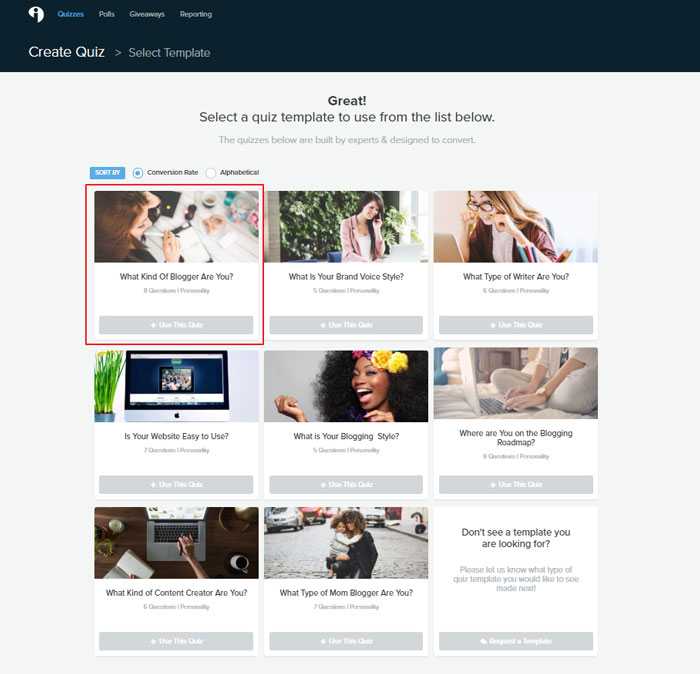
- Select a relevant quiz template for your topic.
As you can see in the screenshot below, there are plenty of options. However if none of them suits you, you may request a new one.
- Customize your quiz:
– Use your brand’s assets (logo, font, colors and images).
– Edit the questions and answers.
– Connect your email marketing system to your quiz (below you’ll tell you how I did this).
Here’s a screenshot of the Interact’s quiz builder, which is very easy to use.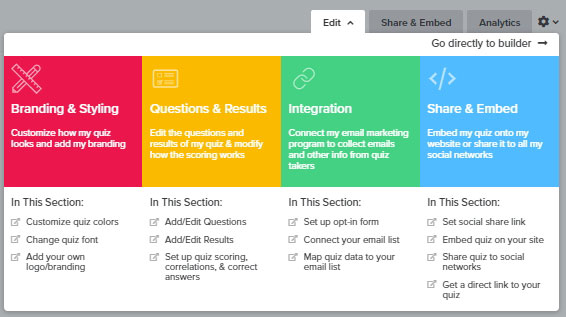
What are the benefits of using a template for my quiz?
Using a template to create my quiz rather than build it from scratch was really convenient because:
- Interact’s templates have been proven and tested, so I didn’t have to worry that my questions, answers or results were too far-fetched.
- They provide inspiration to create new questions and answers.
- Having a busy schedule, I was able to focus on other aspects of my work.
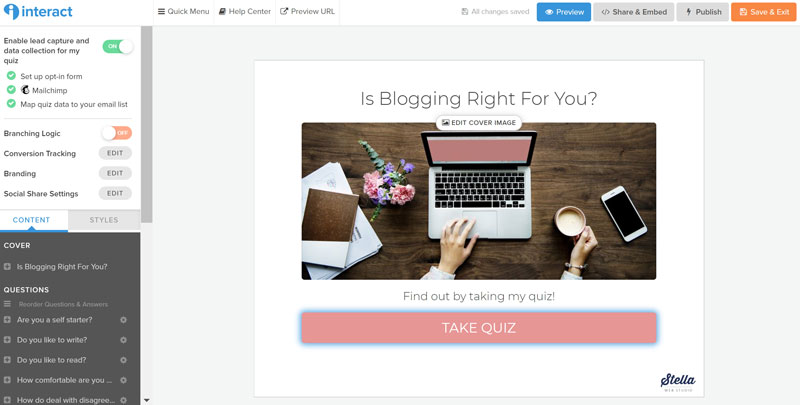
My quiz’s cover page
And here it is! This is how my “Is Blogging Right For You?” quiz looks like. I’m happy I was able to adapt it to my own brand’s style.
STEP 3: Choose your questions and answers
Selecting relevant questions for my quiz was a breeze thanks to the available templates. Moreover, they’re flexible enough to change the questions to print my brand’s voice.
As for the style of the answers, I decided to give the quiz a fun twist by using text and image answers. Here’s an example:
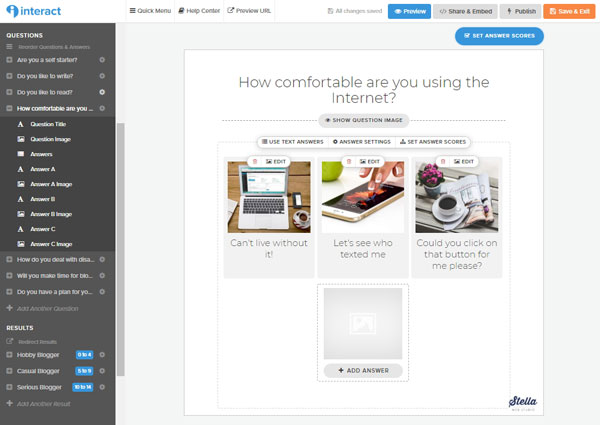
Additionally, you can use the stock images available on this tool or upload your own.
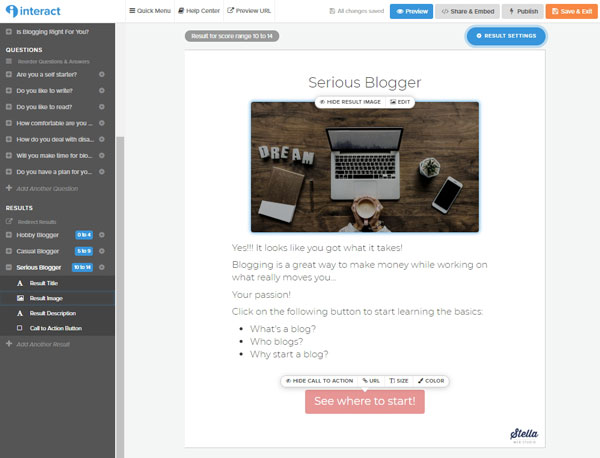
STEP 4: Set your results
As for the quiz results, the template helped me to divide them into three types of blogging personalities: hobby, casual and serious. For each of them I wrote a helpful recommendation along with a Call-to-Action that takes the respondents to my pillar content. In this case, I’m taking them to content that helps them get started with Blogging.
In other words, this step is your chance to lead your audience to your primary content pillar or your social media. So, get creative and take this step strategically!
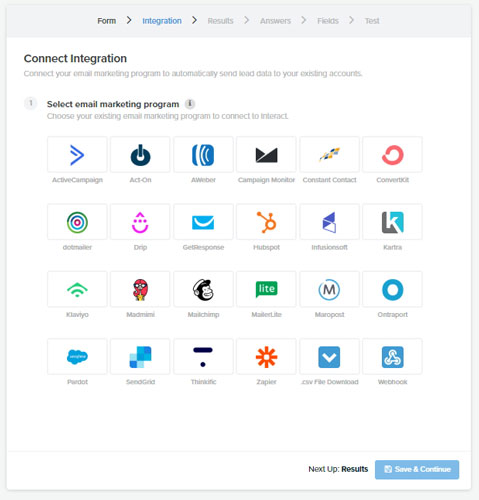
STEP 5: Integrate your Email Marketing System
Interact allows you to connect your quiz to several email marketing systems. I connected mine to MailChimp.
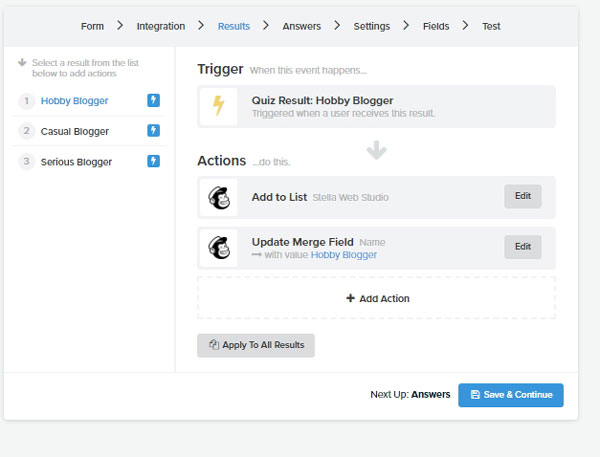
From that point, and depending on the results from the quiz, I was able to strategically segment my audience into three categories for which an action would be taken.
Finally, I was able to successfully test the connection between my quiz and MailChimp. This was a fast process.
STEP 6: Implement your quiz on your website
After making sure your quiz works properly, you can publish it and implement it on your website by simply:
- Creating a page where you would embed my quiz.
- Installing Interact’s plugin for WordPress websites.

STEP 7: See how it works
And now the moment of truth. Please try it out and see how it works :)!
Create Your First Quiz and Grow Your Email List!
Quizzes are innovative lead magnet tools that attract potential customers faster than traditional tactics. Moreover, they’re still underutilized, which means you can use them to stand out in your industry. When done well, quizzes can help your readers learn new things about them, have an interest in your business and see you as the subject expert.
Try out today Interact to set up a quiz customized to your brand in less than 30 minutes!
Need some inspiration?
See live examples from famous brands and influencers or read 50 Quiz Ideas and Titles for Every Industry!